
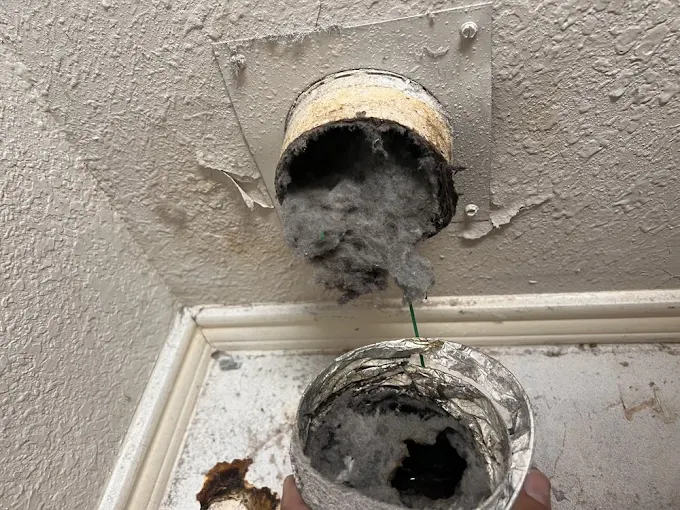
If your clothes still take longer than they should after dryer duct cleaning, the airflow path may still be restricted or imbalanced. This Frisco, TX guide explains what to check next, what usually causes “still not drying,” and how to get dryer exhaust moving the way it was designed to.
If you just had dryer duct cleaning done and you’re still noticing damp loads, it can feel frustrating, especially when you expected faster cycles right away. Sometimes the vent is “clean,” but drying performance doesn’t fully recover because the system still has airflow restrictions, poor duct routing, or a component that is no longer functioning as intended.
In this guide, you’ll learn how to evaluate your dryer exhaust setup after dryer vent cleaning, what changes typically make the biggest difference in drying performance, and how to decide whether you need more than a basic lint removal. It’s written for homeowners and property managers in Frisco, TX who want practical, real-world next steps.
- Quick answer
- What to check first
- Main things customers should understand
- Why this matters in Frisco, TX
- Common mistakes to avoid
- Customer checklist
- Frequently asked questions
Quick Answer
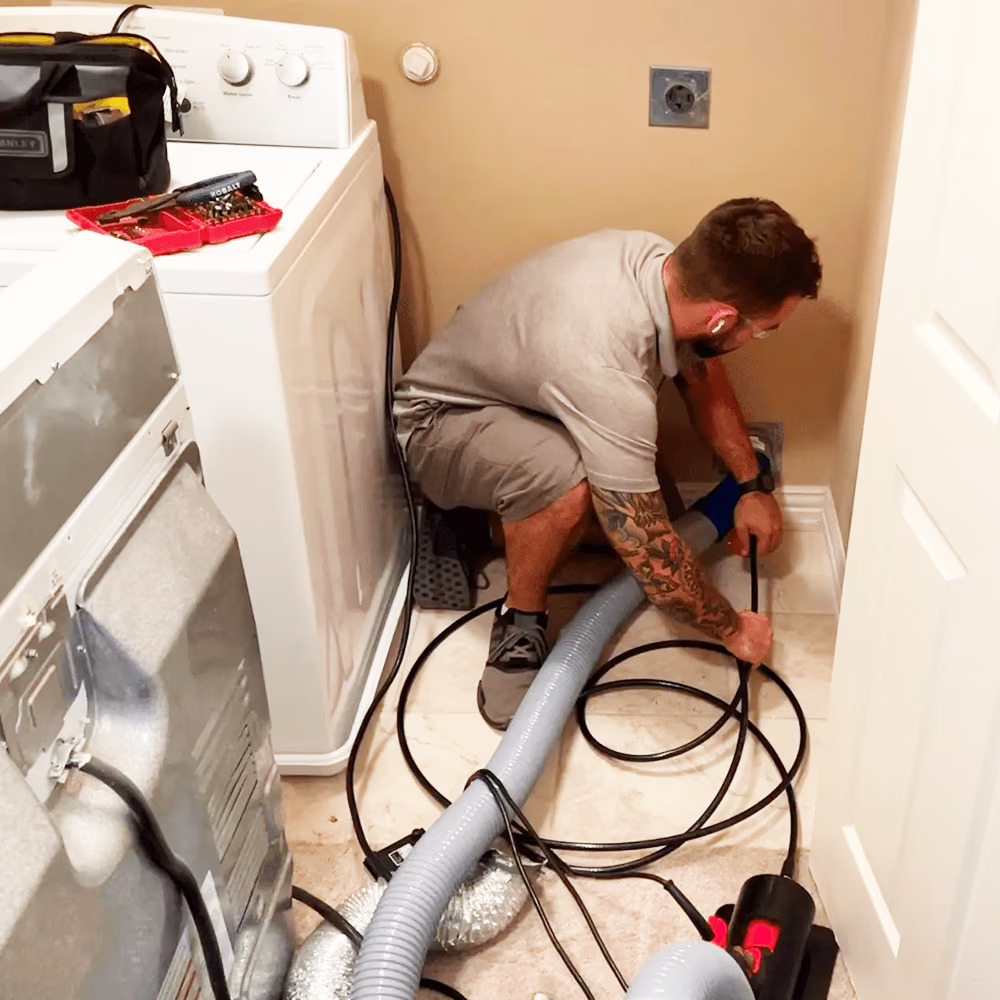
If clothes stay damp after dryer duct cleaning, the most common next step is to verify airflow at the exhaust route: confirm the duct run is properly connected, not kinked or crushed, and that the exterior vent flap opens freely. Then check for a clogged lint screen habit, overloaded loads, or a dryer setting issue that reduces heat or airflow. A practical recommendation is to ask for a dryer vent inspection that looks at the full exhaust path, not just visible lint, so you can pinpoint the exact restriction. Lone Star Pro Flow LLC can help you evaluate and improve airflow for more consistent drying.
What to Check First
Start with the easiest, highest-impact checks. After dryer exhaust cleaning, the system should be clear, connected, and able to move air without leaks or sharp restrictions. If drying is still slow, small issues become big problems because a dryer is designed to push moist air through a specific pathway.
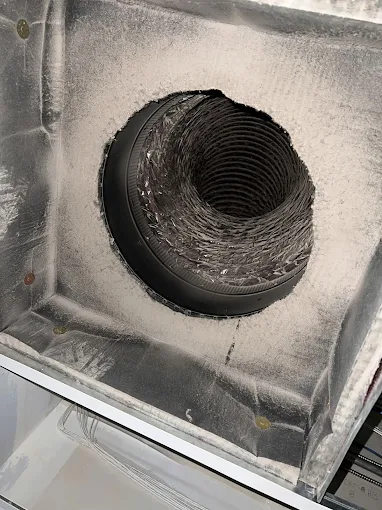
Professional observation: Even when lint is removed, a vent line that is slightly crushed, loosely connected, or routed with too many bends can reduce airflow enough that clothes never fully dry.
Confirm the duct connection and routing
Look behind the dryer and at any accessible duct joints. The exhaust duct should be securely attached and not pulled tight in a way that creates a pinch. If you see sections that look sagging, compressed, or disconnected, that alone can explain “clean vent, still damp laundry.”
Check the exterior vent flap
On the outside of the home, verify the vent opening is not blocked by debris and that the flap moves freely. A flap that sticks can turn a clear duct into a partially closed system.
Make sure the lint screen and dryer basics are covered
After cleaning, re-check basic airflow habits. A lint screen that is not fully cleaned before each load, or a load that’s too large, can overwhelm the dryer’s ability to move moisture out. These issues often look like “the duct is still dirty,” but the real restriction is at the dryer’s intake and airflow cycle.
Main Things Customers Should Understand
Drying performance is a combined result of heat, drum tumbling, and airflow through the dryer duct. When people focus only on lint removal, they may miss other factors that affect venting efficiency. Below are the areas Lone Star Pro Flow LLC commonly evaluates when a customer reports that drying performance did not fully improve after duct cleaning.
1) Airflow leaks at joints
Small gaps between duct sections can let moist air escape before it exits outdoors. The dryer can run longer to compensate, leaving clothes damp even after lint is removed.
2) Kinks and crushed duct sections
Flexible duct is convenient, but it can kink or collapse. Once airflow is restricted, the dryer exhaust path effectively becomes narrower than it should be.
3) Excess bends and long runs
Long duct runs with multiple turns increase resistance. After duct and dryer vent cleaning, the system may be clear, but still not efficient if the layout is creating too much restriction.
Decision table: What’s most likely?
| What you notice | Most likely cause after cleaning | What to do next |
|---|---|---|
| Loads still feel damp even after long cycles | Restricted airflow from duct routing, kinks, or crushed sections | Request a full dryer vent inspection of the exhaust path and duct joints. |
| Dryer runs, but room air feels humid near the laundry area | Air leakage at duct connections | Check duct connections for secure fit and re-seat any loose sections. |
| Exterior vent looks clear, but flap seems slow to open | Flap sticking or outdoor obstruction | Inspect the exterior vent for debris and confirm flap movement. |
| Only certain loads dry poorly (bulky items) | Overloading or load size limiting airflow and moisture removal | Reduce load size and separate heavy items to improve drying performance. |
Tip for homeowners: If you recently scheduled dryer duct cleaning but drying did not improve, the next step is not automatically “more lint removal.” A focused inspection helps confirm the duct is actually functioning as an air pathway, not just as a tube with less visible lint.
Why this matters in Frisco, TX
In Frisco, TX, laundry rooms are often located in spaces where the exhaust route has multiple turns, or where ducting was installed during remodels or upgrades. When airflow is restricted, the dryer may run longer to compensate, which can mean more indoor humidity in the laundry area and a more noticeable “damp clothes” problem during heavier use seasons.
For homeowners and property managers in the Frisco area, consistent drying performance matters because it affects day-to-day schedules and tenant experience in apartments, condos, and single-family homes. If you’re looking for dryer vent cleaning services or air duct cleaning and dryer vent cleaning done as part of a broader indoor air quality and ventilation approach, Lone Star Pro Flow LLC can help you evaluate the HVAC duct and dryer exhaust pathway together.
Want drying performance to improve after cleaning?
Schedule a dryer vent inspection with Lone Star Pro Flow LLC. We’ll help identify whether the issue is still airflow restriction, duct connection problems, or another factor affecting dryer vent lint removal results.
Request dryer duct cleaningCommon Mistakes to Avoid
After air duct and dryer vent cleaning, some homeowners assume the problem is solved because lint is gone. That assumption can lead to missed opportunities to correct the real cause of poor drying performance. Here are common mistakes to avoid in Frisco homes and rentals.
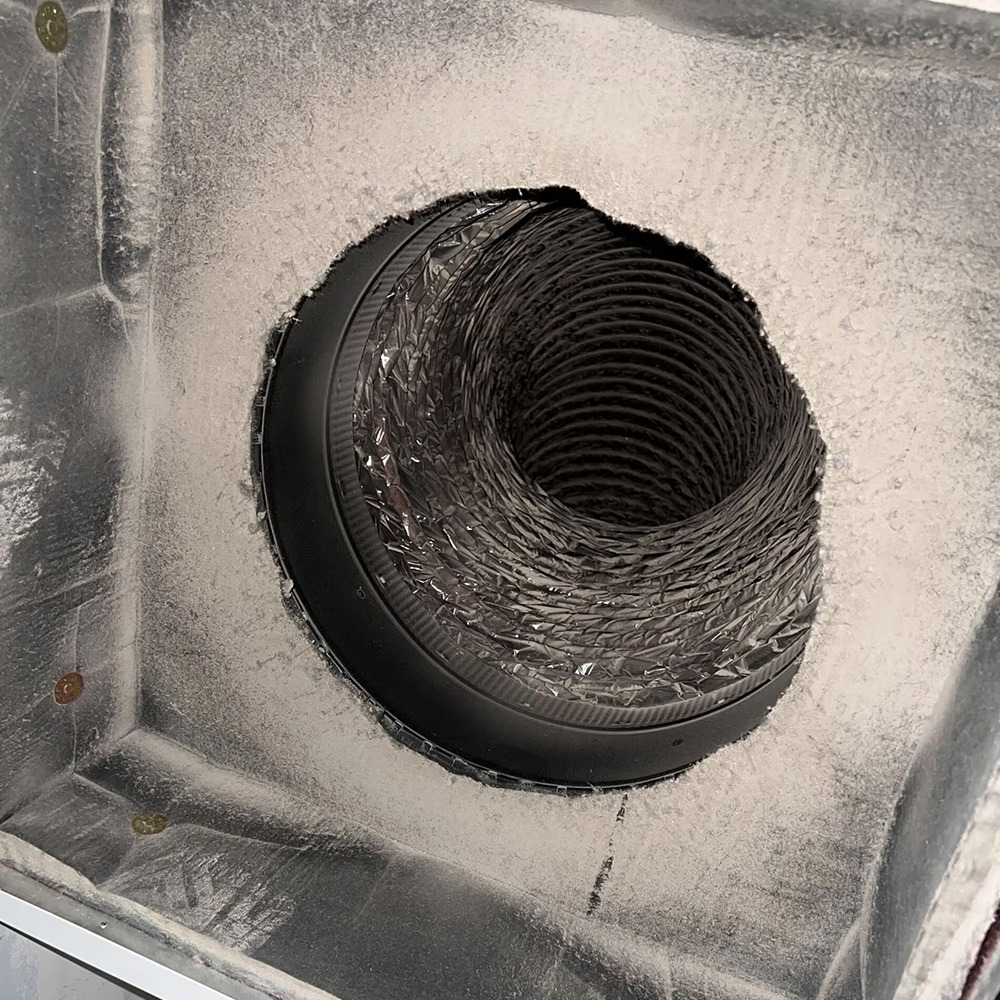
- Assuming “cleaned” always means “unrestricted airflow.” A system can look clean but still be restricted by duct layout, crushed sections, or leaks.
- Overlooking the exterior vent flap. If the flap sticks or the opening is blocked, the dryer exhaust can back up.
- Skipping basic maintenance habits. A clogged lint screen or overfilled dryer drum can recreate the same slow-drying symptoms.
- Not checking duct connections. Even a small gap at a joint can reduce effective venting and prolong cycles.
- Using the dryer like the venting is still restricted. Larger loads and bulky items may need separate drying to maintain consistent performance.
Customer Checklist
Use this quick checklist the next time you notice damp loads after dryer vent cleaning. It’s designed to help you capture the details that matter, so you can troubleshoot accurately and avoid repeated work that doesn’t address the root cause.
- Confirm the lint screen is cleaned completely before each load.
- Check for kinks, crushed sections, or sagging in the dryer duct run.
- Verify duct joints are secure and not pulling apart when the dryer is moved.
- Inspect the exterior vent opening for debris and confirm the flap opens freely.
- Run a test cycle with a smaller, mixed load (avoid overloading) and observe results.
- If available, note whether humidity feels higher near the laundry area during drying.
Representative Scenario
A Frisco homeowner scheduled dryer duct cleaning because clothes were taking longer than normal. After the service, the dryer still left towels slightly damp. The inspection showed the duct connection behind the dryer had a loose joint and one section of flexible duct was partially collapsed, which reduced airflow even though visible lint was cleared. Once the duct was reconnected properly and the route was corrected to remove the pinch point, drying performance improved for that household’s typical towel loads.
Frequently Asked Questions
How soon should I see better drying after dryer duct cleaning?
Many households notice improved drying the same day, especially if the original issue was significant lint buildup. If you still have damp loads, it usually means the airflow pathway still has a restriction or connection problem. That can include duct joints that are not fully sealed, kinks or crushed flexible duct, or an exterior vent flap that does not open freely. A practical next step is to request a dryer vent inspection that checks the full exhaust route, not only the visible duct sections.
Can my dryer vent be “clean” but still cause slow drying?
Yes. Dryer duct cleaning removes lint and debris, but drying performance depends on unrestricted airflow through the entire exhaust path. If the duct run has sharp bends, crushed sections, or gaps at joints, the dryer can still struggle to exhaust moisture. In some homes, the exterior vent flap can also stick due to debris or buildup, which limits airflow even when the inside duct is clear. If symptoms persist, focus on airflow and duct condition, not just lint removal.
What should I check before scheduling more duct cleaning?
Before scheduling additional work, check the lint screen routine, confirm you are not overloading the dryer, and inspect the duct run for obvious kinks or compression. Then verify the exterior vent flap opens freely and that the opening is not blocked. If you notice humid air lingering near the laundry area during drying, that can point to a duct connection issue or leak. These checks help you describe the problem clearly and can guide a more targeted inspection.
Do you also service HVAC duct cleaning in Frisco?
Lone Star Pro Flow LLC provides HVAC duct and vent cleaning services in Frisco, TX and the surrounding areas. If you’re already addressing indoor airflow, it can make sense to consider HVAC duct cleaning alongside dryer vent care, especially when you’re planning a broader indoor air quality improvement. If you want to compare approaches, you can review the HVAC service page here: HVAC duct cleaning.
Is dryer exhaust cleaning the same as dryer vent cleaning?
They are closely related terms. Dryer exhaust cleaning typically refers to clearing the exhaust path so the dryer can push moist air outdoors effectively. Dryer vent cleaning and dryer duct cleaning generally describe the process of cleaning the vent and duct system that connects the dryer to the exterior vent. In practice, what matters most is whether the full exhaust route is assessed for restrictions and cleaned where lint and debris accumulate, so airflow can perform as intended.
Get your dryer vent airflow back on track
If you’re dealing with damp clothes after dryer vent cleaning, Lone Star Pro Flow LLC can help you confirm what’s still restricting airflow and what to correct next for more consistent drying performance.
Contact Lone Star Pro Flow LLC
Lone Star Pro Flow LLC
Lone Star Pro Flow LLC provides duct and vent cleaning focused on improving airflow for dryer exhaust and HVAC systems. Serving Frisco, TX and nearby areas, the team helps homeowners and property managers address indoor comfort concerns that can show up as slow drying, lint-related buildup, and inefficient air movement. If you’re looking for duct and dryer vent cleaning or dryer vent cleaning services, you can explore options at dryer duct cleaning.
Phone: (972) 532-7959