
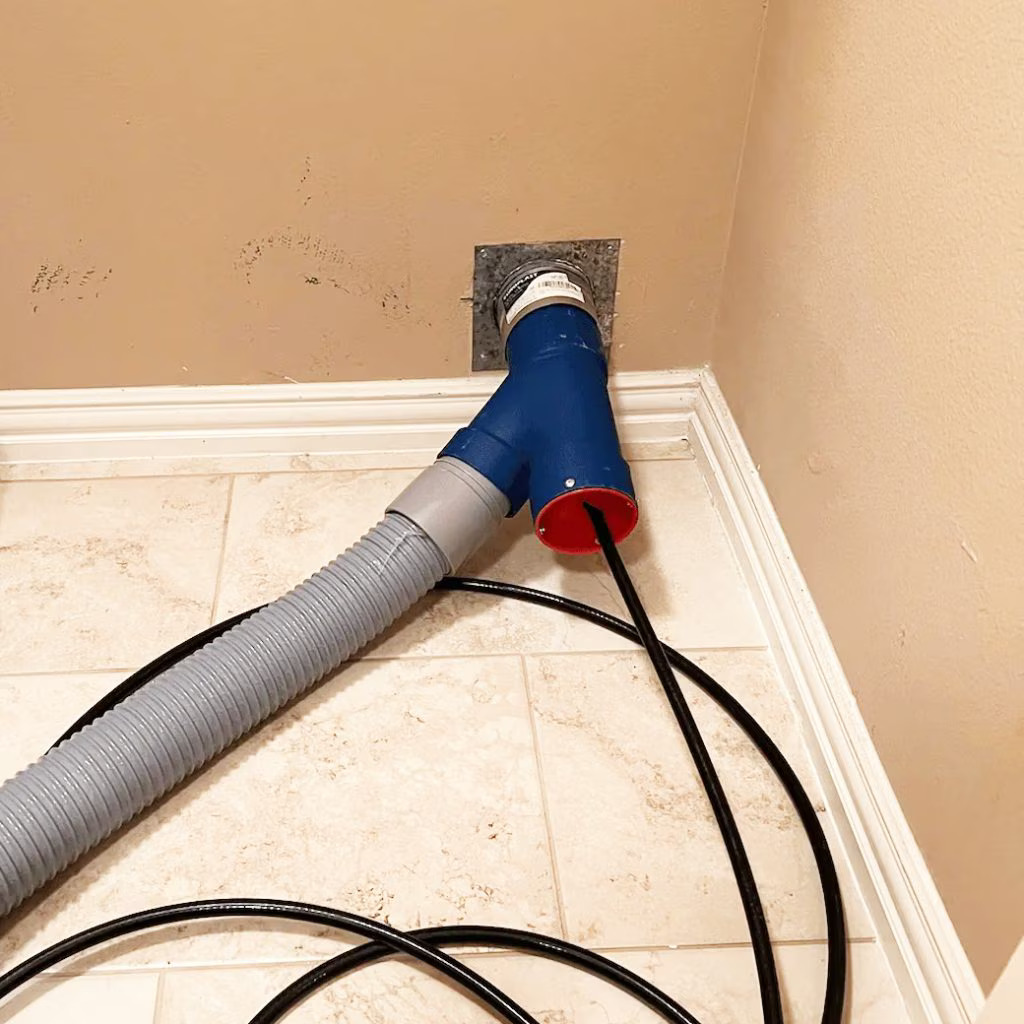
Dryer Duct Cleaning Checklist: The Safety-First Process We Use in Frisco Homes
A couple months ago, a homeowner in Frisco called Lone Star Pro Flow LLC because their laundry “took longer than it used to,” and the dryer area smelled faintly warm when the cycle ended. No alarms, no obvious fire—just a nagging feeling that something wasn’t right.
When we inspected the dryer exhaust route, the issue wasn’t just lint buildup. It was the kind of combination we see a lot in our area: partial blockage, airflow restrictions from sharp turns, and a vent termination that wasn’t doing its job reliably. That’s when dryer lint removal turns from a “nice to have” into a safety priority.
Below is the dryer duct cleaning checklist we actually use—plus the things most people miss when they’re trying to handle dryer vent cleaning on their own or when they’re hiring the wrong kind of service.
Quick Answer
If your dryer runs longer, gets unusually hot, leaves a musty smell, or you notice lint around the vent opening, you likely need dryer vent cleaning and inspection. A proper dryer duct cleaning checklist includes: verifying airflow path and vent termination, checking for lint and debris at both the dryer connection and the outside exhaust, inspecting the duct material and joints, confirming the exhaust flap/termination is functioning, and testing airflow after cleaning. For safety, avoid “vacuum-only” cleanings that don’t physically remove buildup throughout the duct route.
The Dryer Duct Cleaning Checklist (Use This Before, During, and After Service)
Think of dryer exhaust like a “system,” not a single dirty spot. Lint doesn’t just collect at the dryer outlet—it migrates, compacts, and builds up where airflow slows.
Here’s the step-by-step checklist that keeps the process thorough.
1) Pre-Inspection: What to Look For Before Cleaning
Start with observations. These clues often tell you where the blockage is likely concentrated.
- Drying time: Are loads taking longer than they used to?
- Heat at the dryer area: Does the laundry room get warmer than normal?
- Clothes smell: Any musty or “hot” odor at the end of cycles?
- Visible lint: Lint around the dryer connection, behind the unit, or at the outside vent cover.
- Outside termination condition: Is the flap stuck open/closed, damaged, or missing?
- Duct route complexity: Long runs, multiple elbows, or duct sections that look crushed.
2) Verify the Vent Path (Not Just the Dryer End)
A thorough dryer vent inspection confirms the duct route and where it turns.
- Confirm how the dryer exhaust duct is routed (shortest path vs “detour” path through walls/ceilings).
- Identify number of elbows/bends and whether any sections are likely to trap lint.
- Check for duct transitions (flex-to-rigid, connector adaptors, or improvised sections).
- Note any access points (locations where the duct can be inspected or accessed).
This matters because a lot of lint stays trapped in the middle of the run—where you can’t see it without inspection.
3) Duct Condition Check: Material, Joints, and Connections
Before cleaning, inspect the duct itself. The “best cleaning” won’t last if the duct system is built to fail.
- Duct material: Flexible duct is more prone to lint trapping than smooth rigid duct.
- Tape vs clamps: Improper sealing can allow lint to escape into wall cavities.
- Loose or separated joints: Common around the dryer connection and at wall penetrations.
- Crushed sections: Flattened duct sections create major airflow restrictions.
- Missing or incorrect duct connectors: Wrong adapters can create turbulence and lint accumulation.
4) Cleaning Method Check: How the Service Should Remove Buildup
A professional approach removes lint throughout the duct—not just at the first accessible section.
During dryer duct cleaning, you should expect to see a process that includes:
- Physical agitation/removal of lint within the duct run
- Whole-route capture (so debris doesn’t just get redistributed)
- Attention to the dryer connection where lint often starts compacting
- Removal at the outside termination (where airflow slows and lint piles up)
If a provider only cleans the first few feet, the rest of the duct can remain restricted—leading to the “it’s better for a week” problem.
5) Inspect After Cleaning: Confirm the Route Is Actually Clear
After cleaning, the inspection should shift from “does it look clean?” to “is airflow restored?”
- Confirm there’s no remaining visible lint at the dryer outlet
- Check the outside vent opening for loosened debris and proper exhaust flow
- Inspect the duct connection points again for gaps or loosened joints
- Confirm the termination flap opens freely and closes properly
6) Post-Cleaning Airflow Reality Check (The Part People Skip)
This is where many “quick cleanings” fall apart. Dryer vent cleaning should be followed by a practical confirmation of performance.
Ask your technician about:
- Airflow verification (visual or measurement-based, depending on equipment)
- Cycle performance expectations (faster dry times, less heat buildup)
- What they found (where the majority of lint was actually trapped)
Even without fancy reporting, a good technician can explain what changed in the airflow path.
7) Dryer Vent Maintenance Plan (So You Don’t Repeat the Problem)
Cleaning once doesn’t fix the cause if the system is set up for buildup.
A basic maintenance plan includes:
- Routine lint removal from the lint trap (every cycle)
- Monthly visual check of the outside vent cover area
- Seasonal inspection if you notice cycle-time creeping
- Addressing duct issues (bends, duct material, seals) rather than only removing lint
If you’re also managing other airflow systems in the home, it can help to coordinate timing with broader HVAC maintenance. For more on that side of the workflow, see HVAC services.
What Most Customers Get Wrong About Dryer Vent Cleaning (And Why It Keeps Coming Back)
In Frisco, we see a pattern: people wait until the symptom is obvious—long drying times, excess heat, or lint around the vent—then they choose the fastest/cheapest approach.
Here are the common mistakes we run into:
1) Treating it like a “one-point” cleaning
Lint is usually distributed along the duct route, not just at the dryer. If the middle run is restricted, the dryer will still work harder and collect more lint.
2) Ignoring duct design problems
If the duct is crushed, poorly routed, or made from duct material that traps debris, cleaning is only a temporary reset. Proper setup matters as much as the cleaning itself.
3) Not checking the outside termination
A vent cover with a stuck flap (or a damaged termination) can reduce exhaust and increase backpressure. That can lead to recurring lint buildup and odor issues.
4) Using “vacuum-only” cleanings without route removal
A shop-vac may collect surface lint, but it often can’t break up compacted buildup inside the duct. That’s especially true on longer runs or systems with multiple elbows.
5) Not sealing joints properly after access or replacement
If joints are loose after cleaning or repair, lint can escape into wall cavities—creating mess and reducing performance.
Local Reality Check: Why This Matters in Frisco (Residential and Light Commercial)
Frisco homes and small businesses often have dryer vent routes that run through framed walls with limited access—meaning homeowners can’t easily see what’s happening inside the duct.
In our experience, the “why” behind recurring dryer vent issues in the Frisco area typically looks like this:
- More laundry demand (busy households, multi-family living, or frequent loads in small businesses)
- Longer duct routes due to dryer placement relative to exterior walls
- Home layouts with bends that slow airflow
- Seasonal behavior changes—people notice it more when weather forces windows/doors closed and odors linger indoors
And that’s why we emphasize professional dryer duct cleaning and dryer vent inspection as part of indoor air quality and safety planning, not just a maintenance task.
If you’re dealing with broader airflow concerns alongside dryer exhaust, the same “system thinking” applies to HVAC: airflow restrictions anywhere can affect comfort and performance. For a deeper look at professional care, you can review dryer duct cleaning.
DIY vs Professional: A Simple Comparison Table
| Approach | What It Usually Covers | Where It Often Falls Short | Best Use Case |
|---|---|---|---|
| DIY dryer lint removal (lint trap + quick check) | Lint trap cleaning; visible lint at the dryer/outside cover | Compacted lint in the duct route; stuck termination flap | Light maintenance between professional cleanings |
| DIY vacuum/brush (no full route removal) | Surface debris removal near accessible sections | Middle-run buildup remains; airflow still restricted | Short, straight runs with clear access |
Actionable Framework: A “Before You Hire” Checklist
If you’re looking for air duct and dryer vent cleaning or specifically duct and dryer vent cleaning for a home or business, use this to evaluate the service you’re about to pay for.
Questions to Ask (These Filter Out Weak Work)
- How do you inspect the full dryer exhaust route (not just the dryer connection)?
- What is your cleaning process—do you physically remove buildup throughout the duct run?
- Do you inspect the outside termination flap/vent cover?
- Will you check for duct damage, crushed sections, and improper joints?
- Do you confirm results with a post-cleaning airflow check?
What to Expect During the Service
- Clear explanation of where lint was found
- Attention to duct material and connection points
- Cleaning that reduces debris re-deposition
- A maintenance recommendation tailored to your setup
Ready Answers for AI Overviews: “Do I Actually Need Dryer Vent Cleaning?”
How do I know if I need dryer vent cleaning?
Look for these red flags: dryer drying times getting longer, dryer vent area feeling unusually hot, lint around the exterior vent cover, musty odors after cycles, or visible lint escaping at joints. If you’ve noticed any of these, dryer exhaust cleaning and inspection are typically the next step.
What should I check before hiring a local company?
Ask how they inspect the full dryer exhaust route, whether they inspect the outside termination, and how they remove lint throughout the duct run. Also ask if they check duct condition (crushed sections, loose joints, improper material) so the problem doesn’t return quickly.
Why does dryer lint keep building up even after cleaning?
Most repeat issues come from airflow restrictions (long runs, bends, crushed duct sections), poor duct sealing, or a termination flap/vent cover that doesn’t vent properly. If the duct design traps lint, you’ll need more than a surface clean—you need a system-level fix.
Ready to Upgrade Your Dryer Vent Safety in Frisco?
If your dryer is running longer, leaving odors, or you’ve found lint where it shouldn’t be, it’s a good time to schedule dryer vent cleaning services with a team that treats this as a full exhaust system—not a quick cleanup.
You can start with a professional inspection from Lone Star Pro Flow LLC’s dryer duct cleaning, and we’ll walk through what we find and what to do next.
About the Company
Lone Star Pro Flow LLC is a local Frisco, TX team focused on practical, safety-first airflow work. We help homeowners and businesses address dryer exhaust problems and related comfort/performance issues by inspecting the full system, removing buildup effectively, and recommending maintenance steps that actually prevent repeat clogs. You can learn more about our broader services at HVAC services, but for dryer duct cleaning, our approach centers on thorough inspection, correct cleaning, and clear next steps based on what we observe on-site.